This week I was asked to help a local photographer set up her SmugMug website.
What is SmugMug?
SmugMug lets you create specialist photography websites using their range of templates and software. SmugMug hosts your site and the main advantage is that you can also sell your pictures securely through it, all for a monthly fee. (It has some disadvantages too, but I’ll save that for another post).
SmugMug creates a URL / web address for your new photography website
When you first set up a site, you have to choose a sub-domain, in this case, http://familiesbyandisheh.smugmug.com/.
But there are a few downsides to this:
- it weakens your brand as clients might not understand what SmugMug is and what it is to you
- it is less convenient to say over the phone to clients
- it’s not exactly a pretty name, is it?
The good news is that you can use your own domain instead
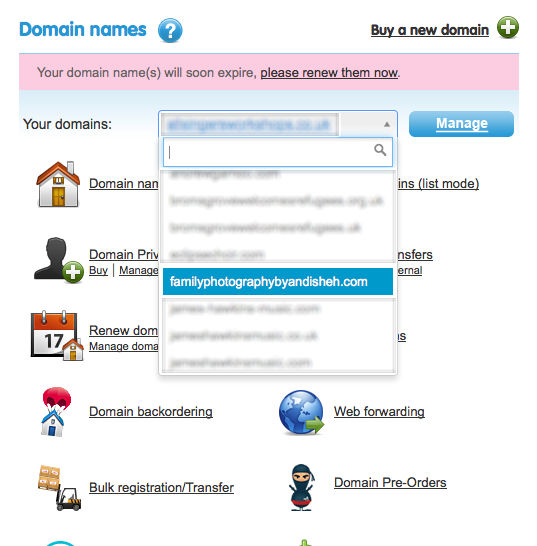
This is called “cloaking the domain”. First you need to buy a domain. In this case we bought a couple of domains with privacy from 123-reg. (See here why it’s useful to choose the privacy option). For this example we chose familyphotographybyandisheh.com.
We want all visitor traffic, whether someone enters the URL familyphotographybyandisheh.com or www.familyphotographybyandisheh.com, to land on the right SmugMug pages.
(As an aside, I am amazed by how often I see websites that don’t load with both the www in the URL and without it. It’s an easy fix so read on to the second step if this is you.)
Ideally, because the URL here is quite long, I wanted the preferred domain to be without the www. But, here’s the tiny bit of bad news… you can only cloak it to the www. You can’t send www. to the root domain and then to SmugMug. But it isn’t awful, because we can set this up so that even if you don’t enter the www into your browser address bar, it will still arrive in the right place. Happy days!
This is how you do it:
How to cloak the SmugMug subdomain with your www address
First point your domain’s traffic to SmugMug
Login to 123-reg
Select the domain you want to use
Click on Manage DNS.

At the bottom of the table you should add a CNAME record with the address: domains.smugmug.com.
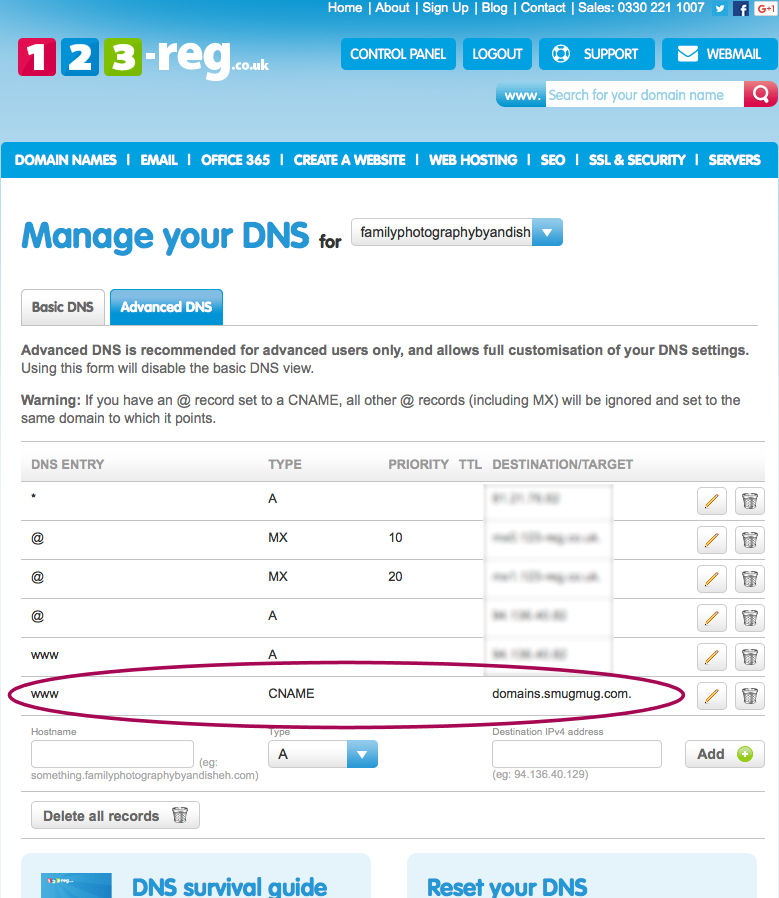
This means that anyone who goes to http://www.yourdomain will be sent to SmugMug.
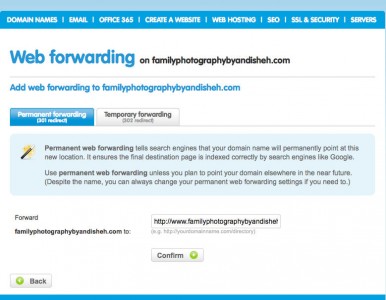
Second, send all traffic from your root domain to www.
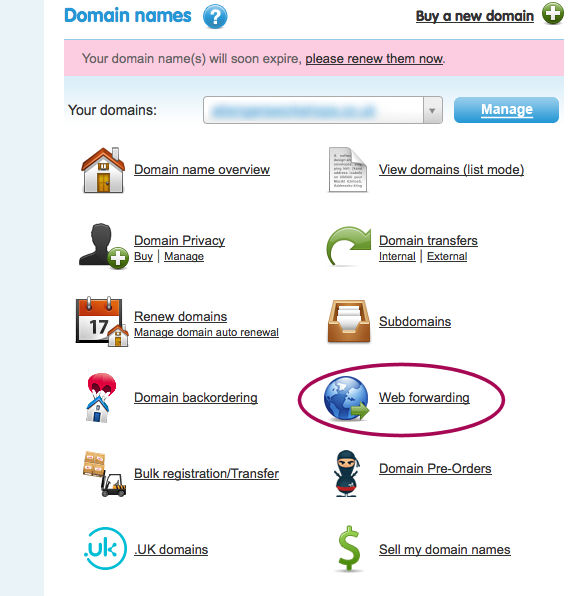
Now you need to add a web forwarder so that any visitors going to http://yourdomain will be forwarded to http://www.yourdomain.
Head back to the Control Panel, then click Web Forwarding.
You need to create a 301 Permanent Redirect to http://www.yourdomain. Find your domain using the search box. Then add 301 forwarding.

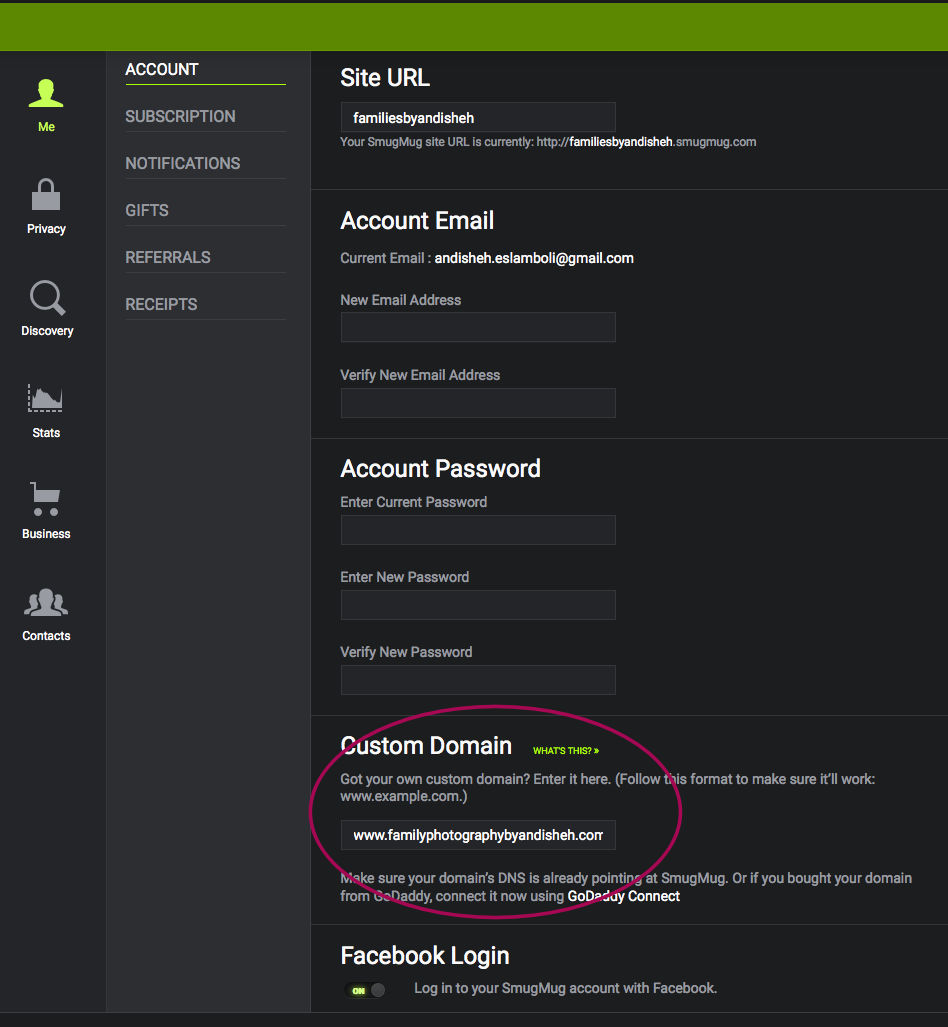
Third, tell SmugMug your custom domain URL
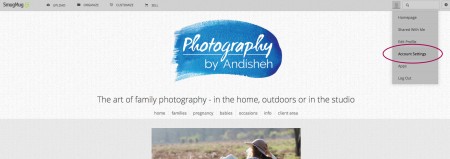
Shut down 123-reg and open your SmugMug website and login. Then go to the Profile icon at the top right of the page and click Account Settings in the drop down menu.
This will open the black settings screen. You need to scroll down on this page and look for Custom Domain Name. Enter your http://www.yourdomain here.
Now wait. It can take six to eight hours for the DNS settings to propagate.
You may see this change immediately, or you may need to wait a while. If, after waiting, you still cannot see the changes, then check all the steps are saved correctly. And you can also search the Internet for a free proxy server to see if the website URL works as expected there. Bonne chance!